Crest Whitestrip LED teardown
The Crest Whitestrip LED light is built to be discarded. The
instructions say it contains lithium batteries but they are not
replaceable. "Please dispose of the device according to local regulations"
Adding to the electronic waste already in landfills seems unnecessary. And reusing the device later has financial benefits too, since the device adds significant cost, at least $30. Replacing the batteries would be economical and better for the environment.
Opening the LED Light
It's not immediately clear how the light was assembled. There is a translucent blue plastic that is adhered to the white body, but that is strongly attached. However, there is a white rubbery ring or seal that curves around the whole device that can be cut away if you are careful. If you have a vise grip you should use that, it is difficult to cut around the curved surface while holding the device. Be very careful to cut away from yourself.
After cutting away most of the seal, I recommend leaving one narrow side attached, to hold the 2 outer pieces together.
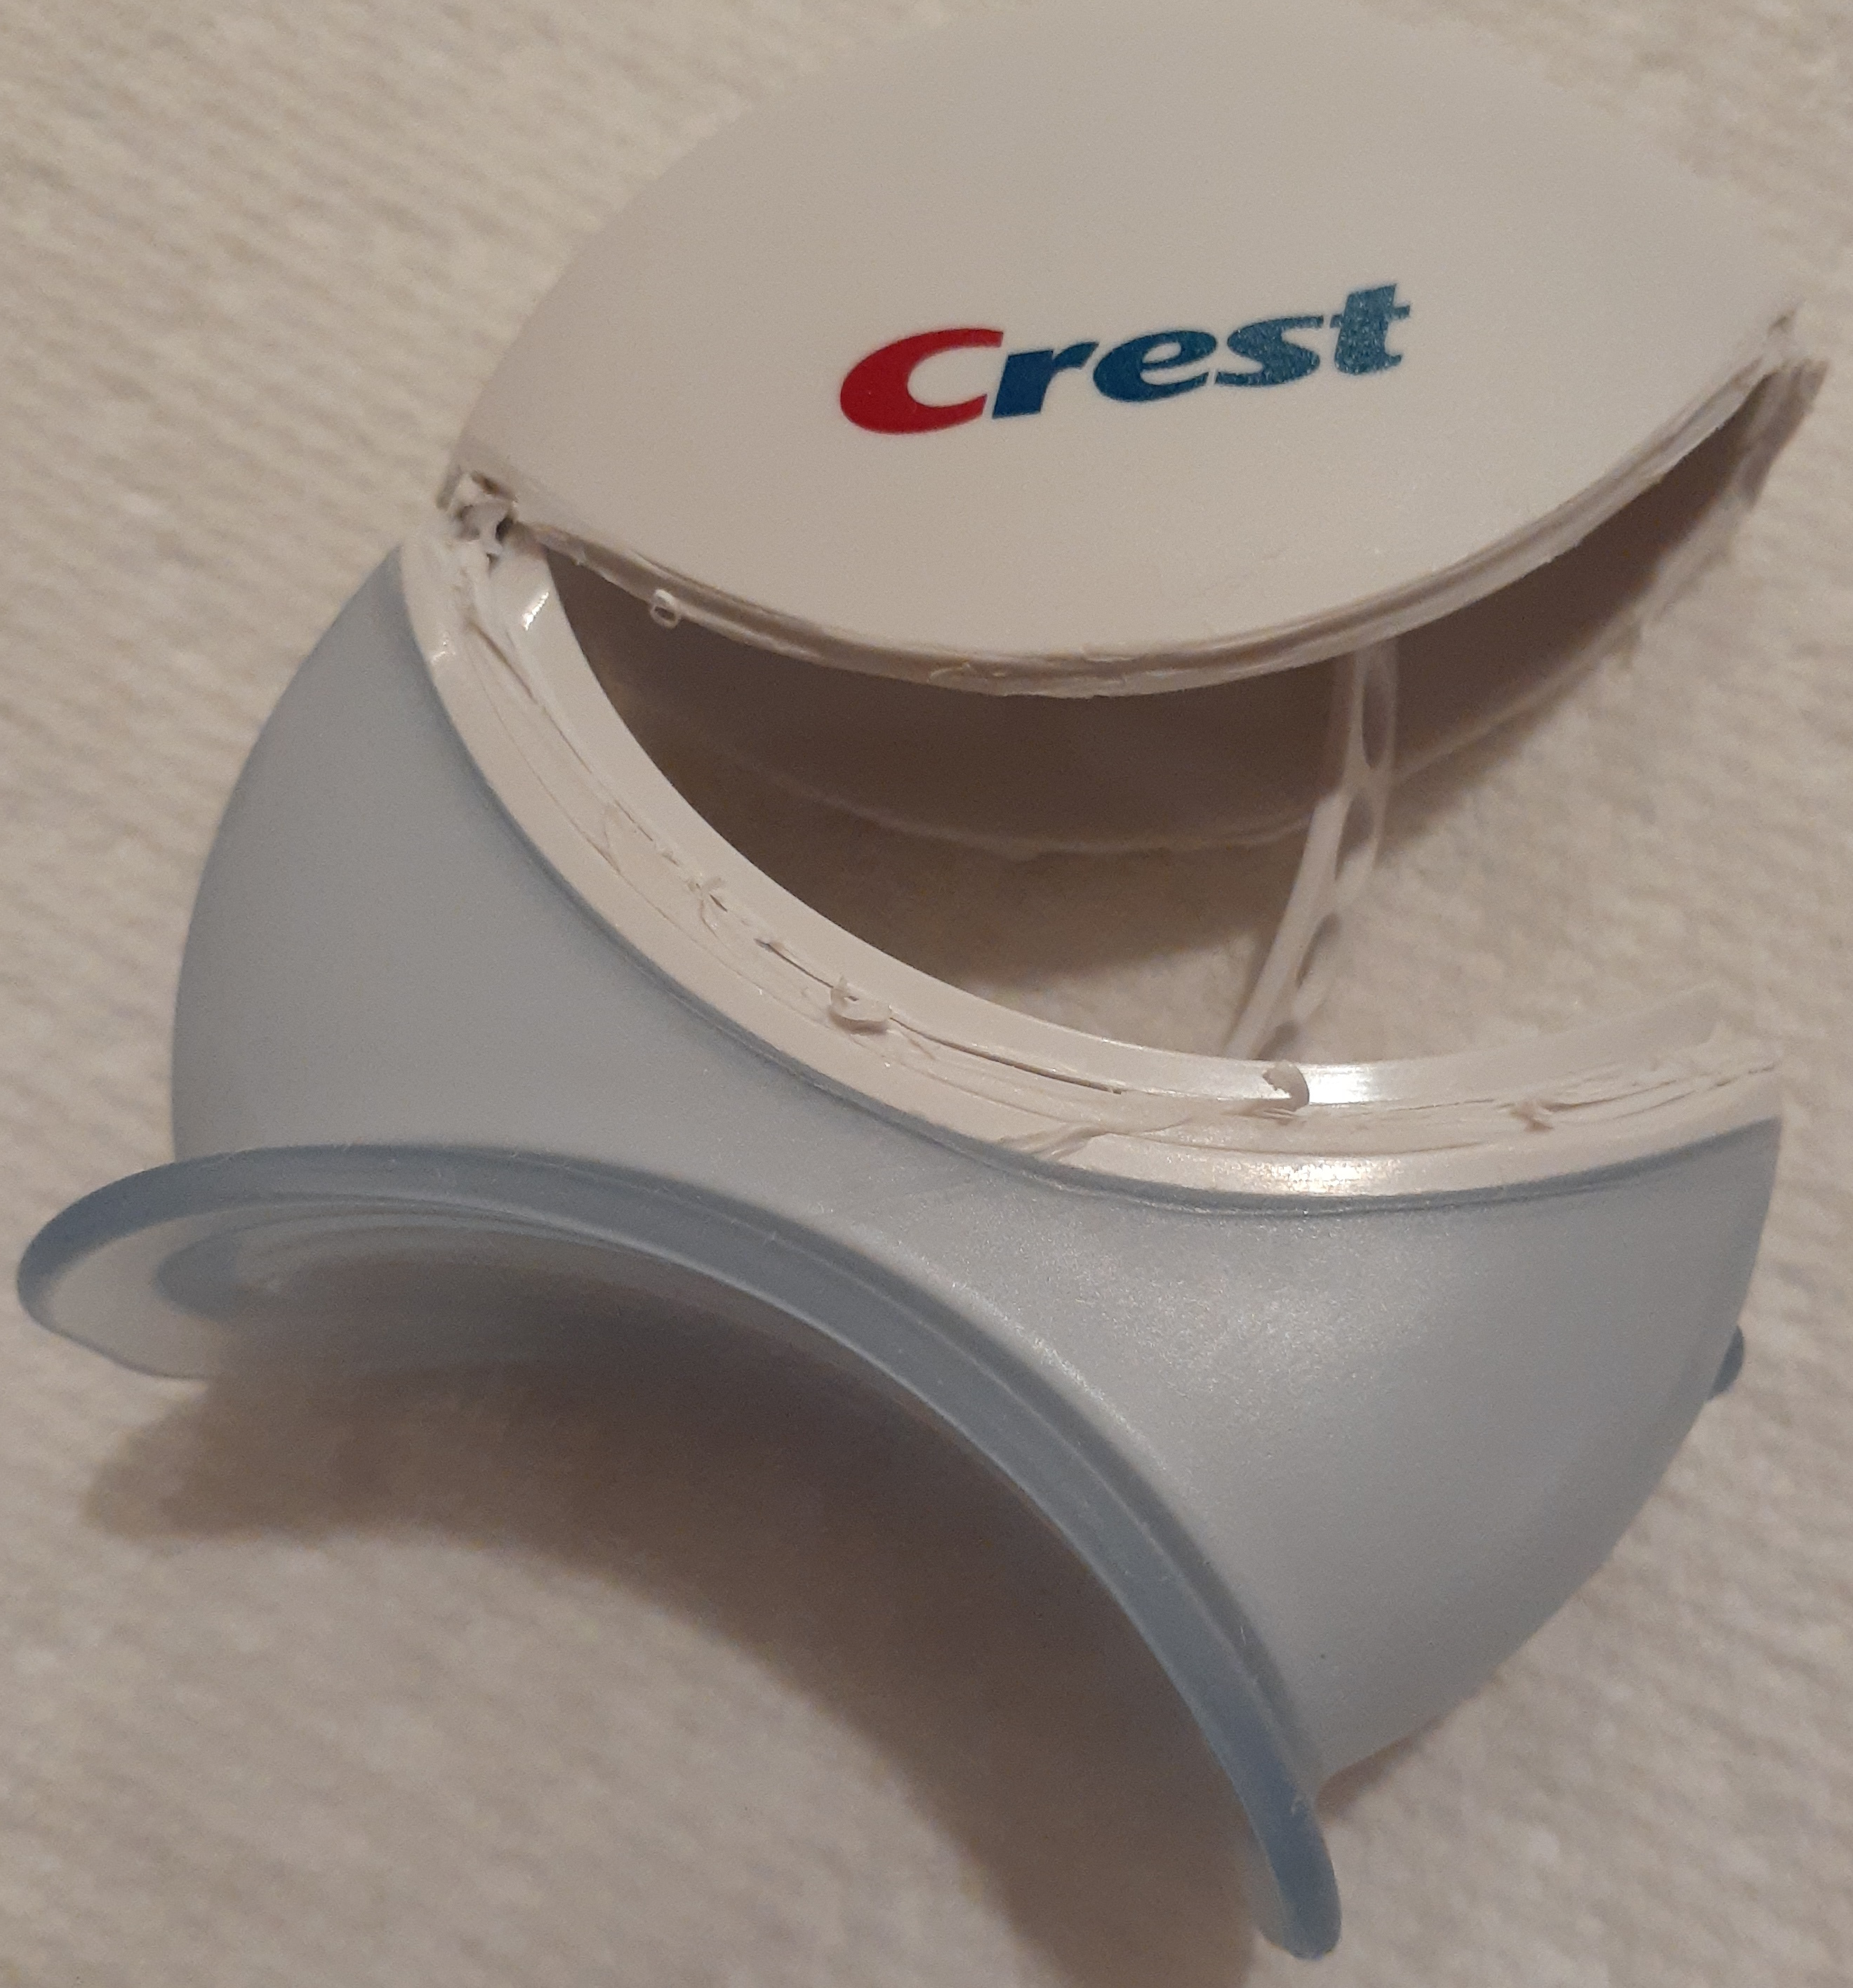
Once you have enough of the seal cut away, you can pull the outer case off, revealing a white plastic shell with 2 batteries on one end and the arc of LEDs on the other. There will also be a small plastic LED frame, don't lose that.
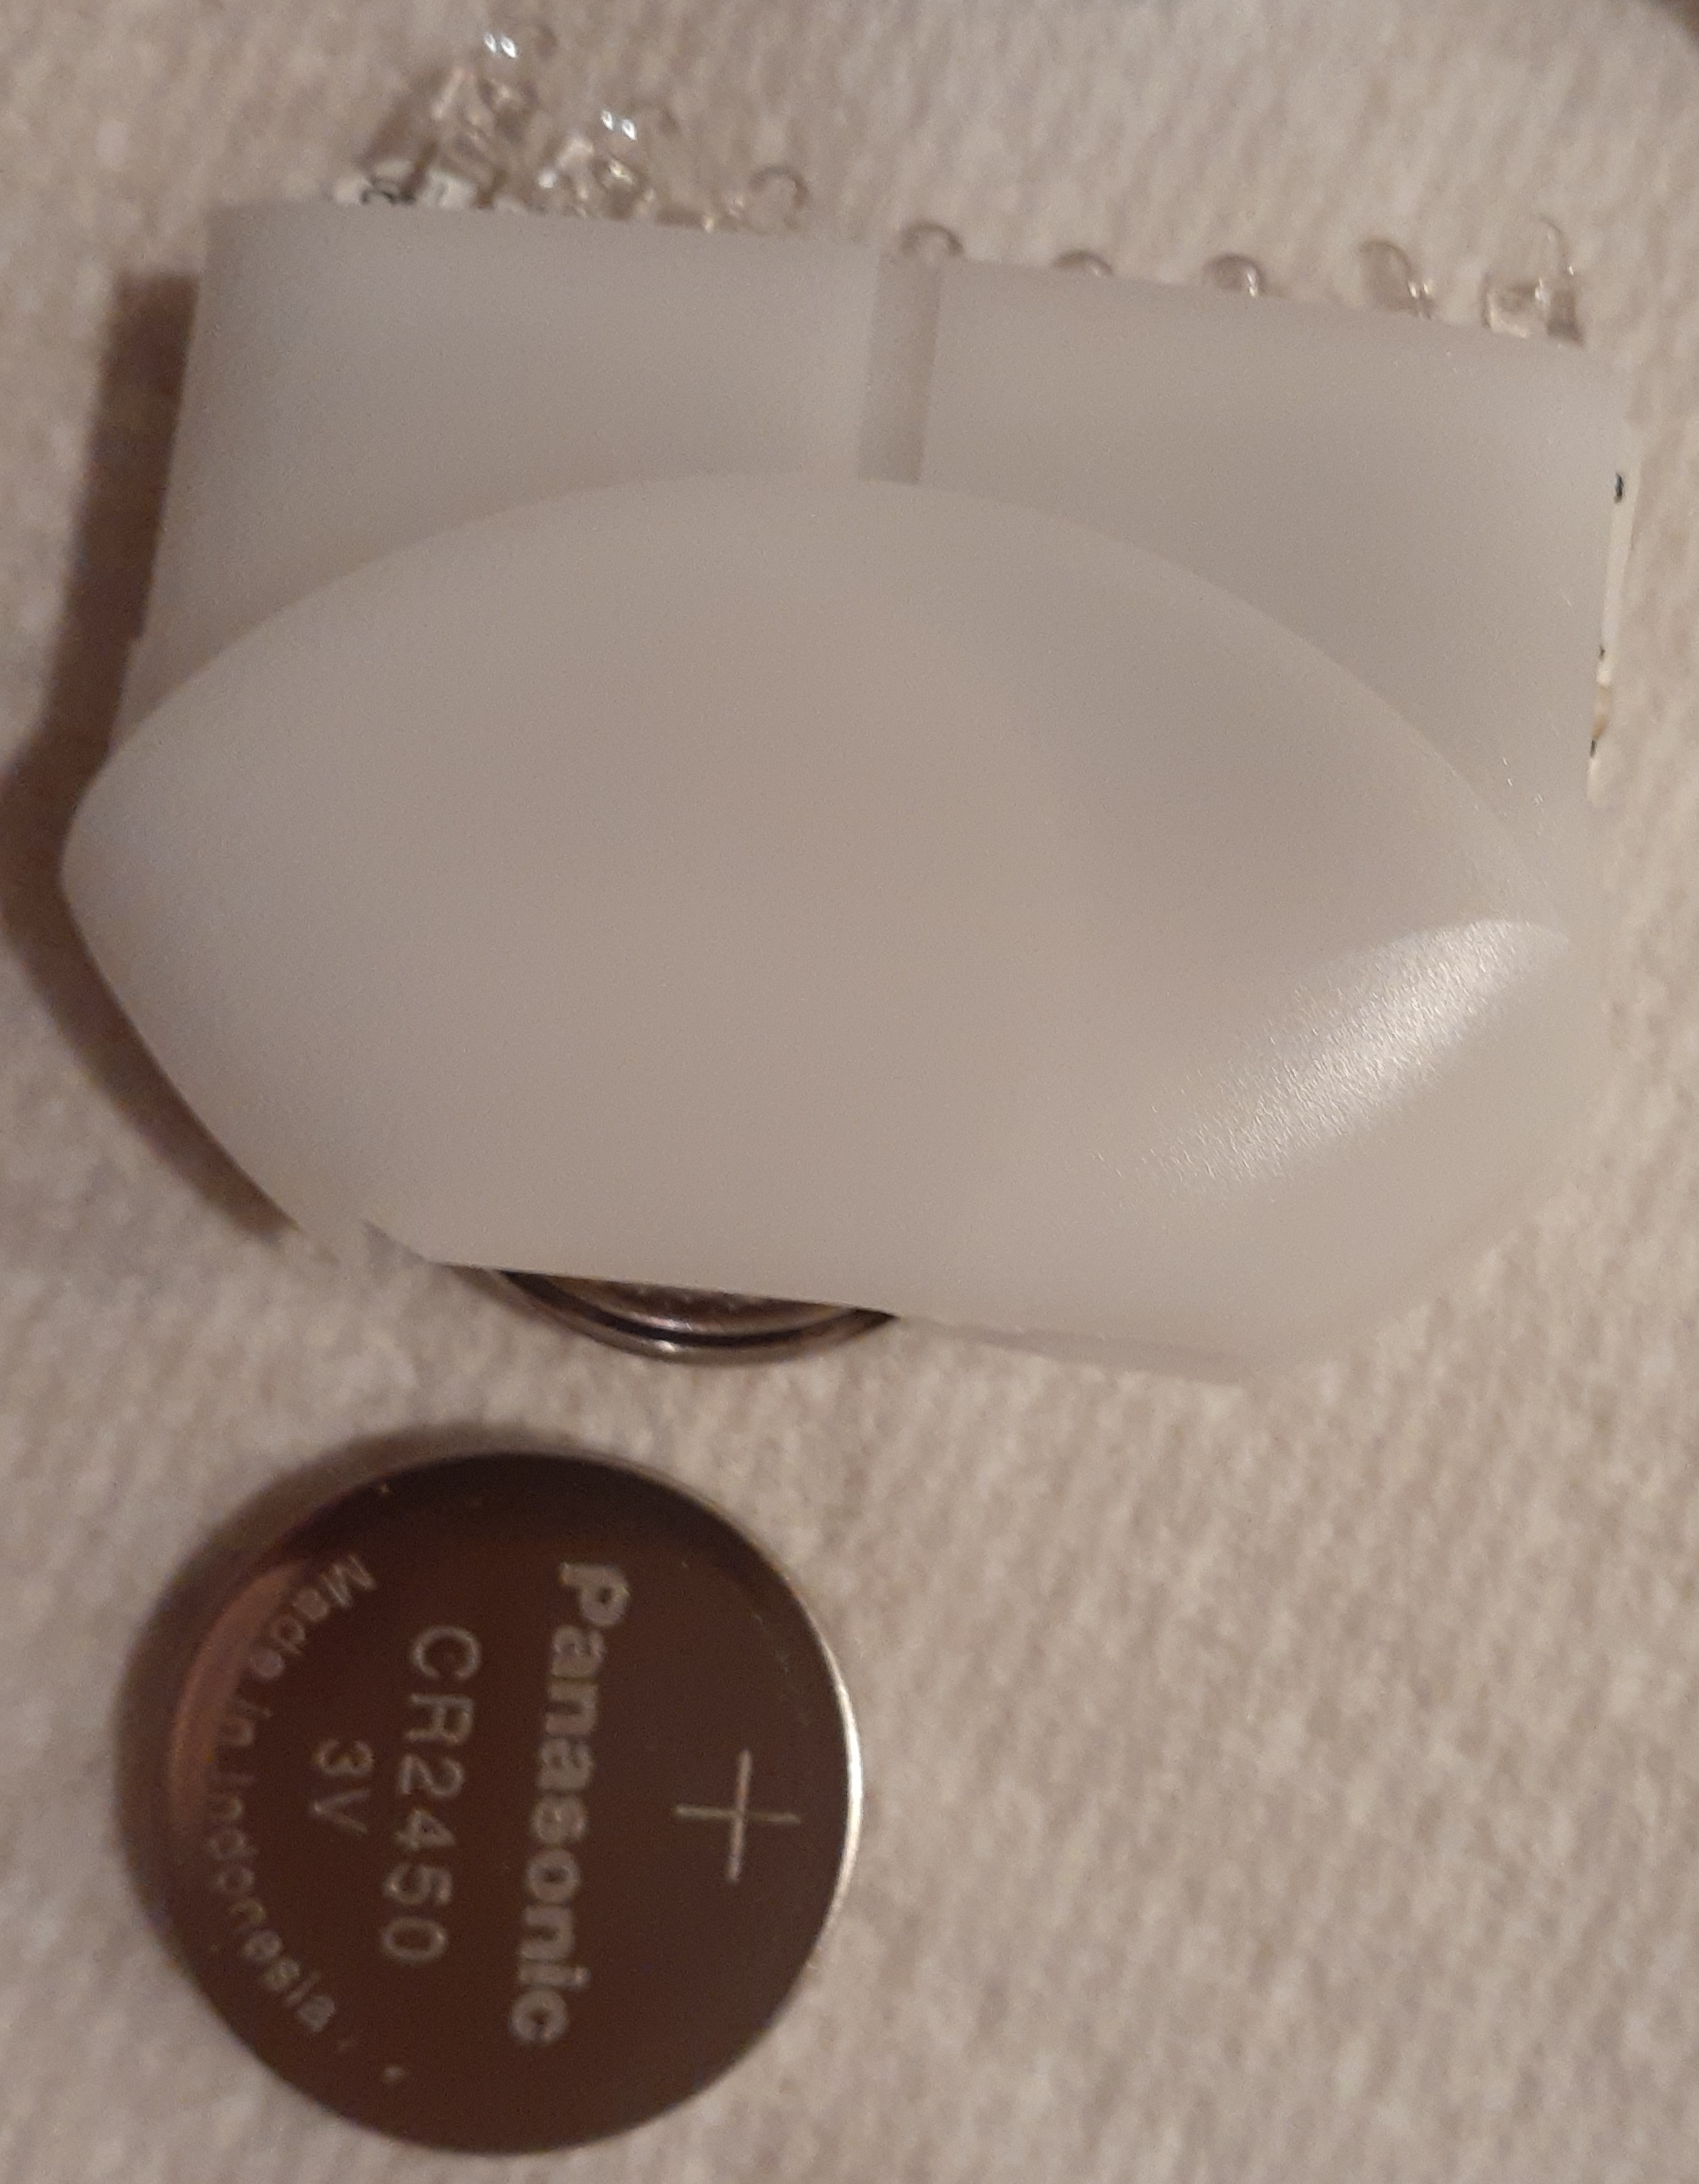
The inner plastic shell is 2 pieces, they can be separated revealing the circuit board with the LEDs. Keep track of the orientation of the circuit board and how it fits over the pegs on one of the shell pieces.
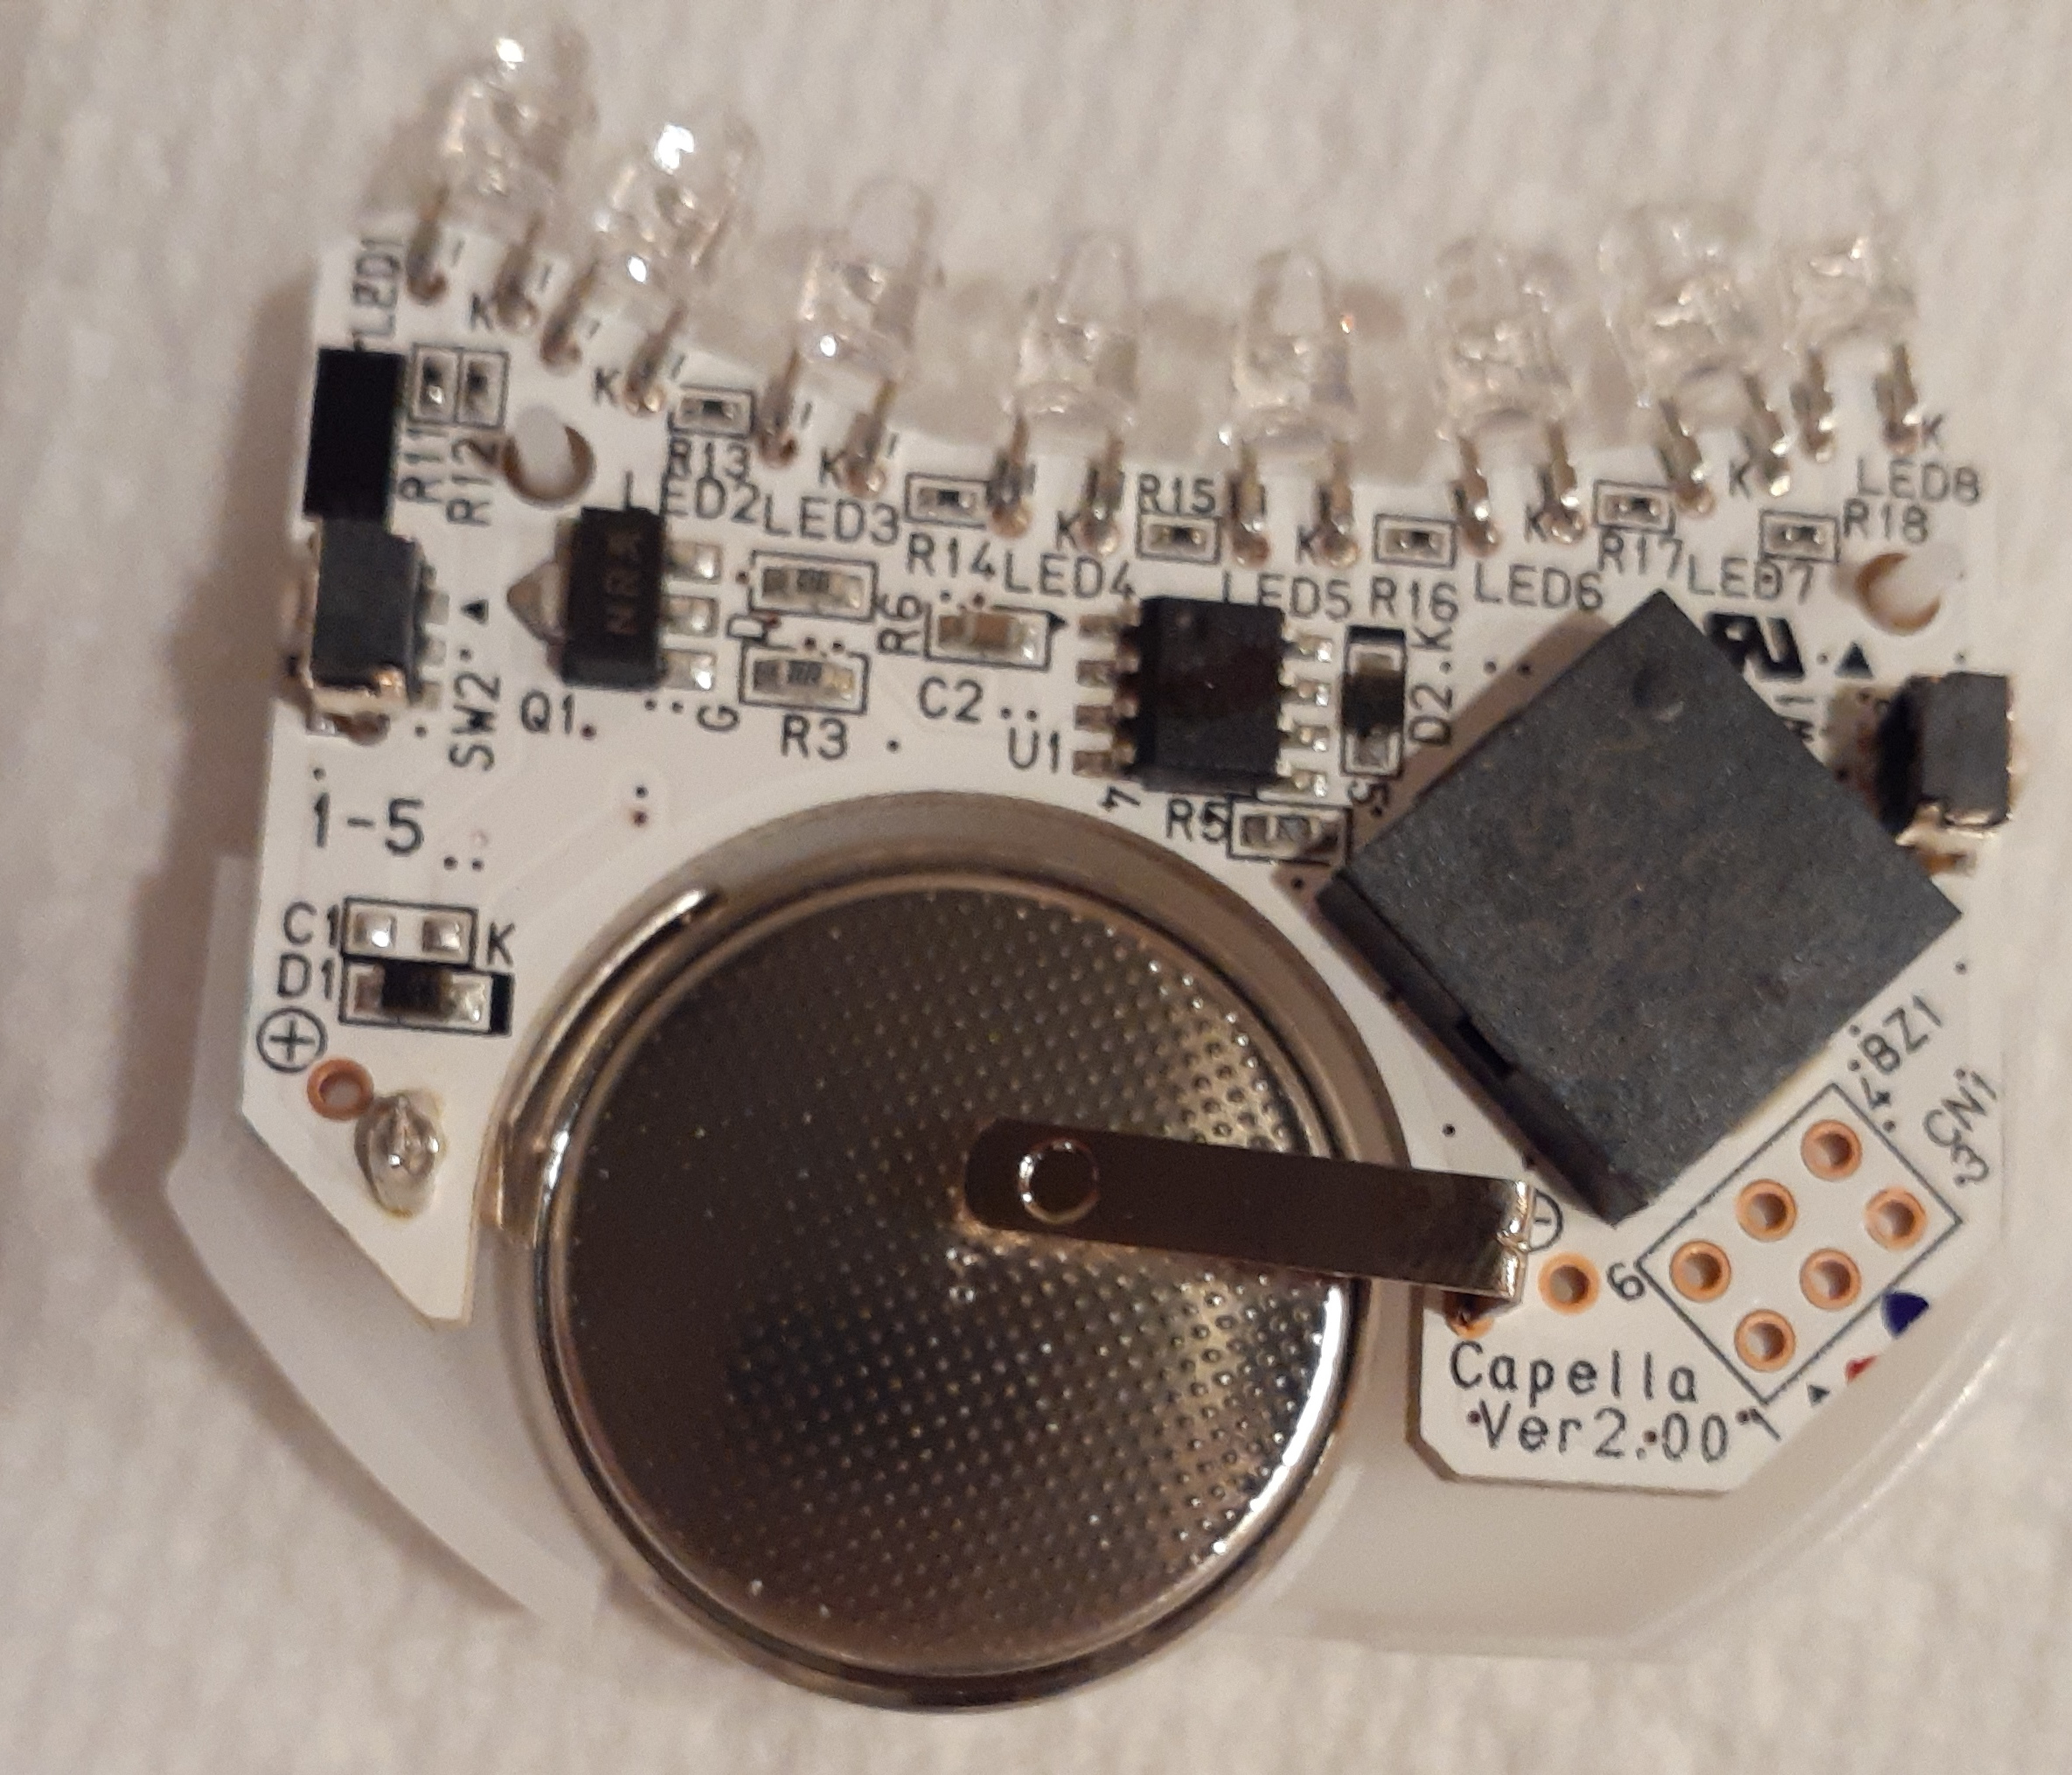
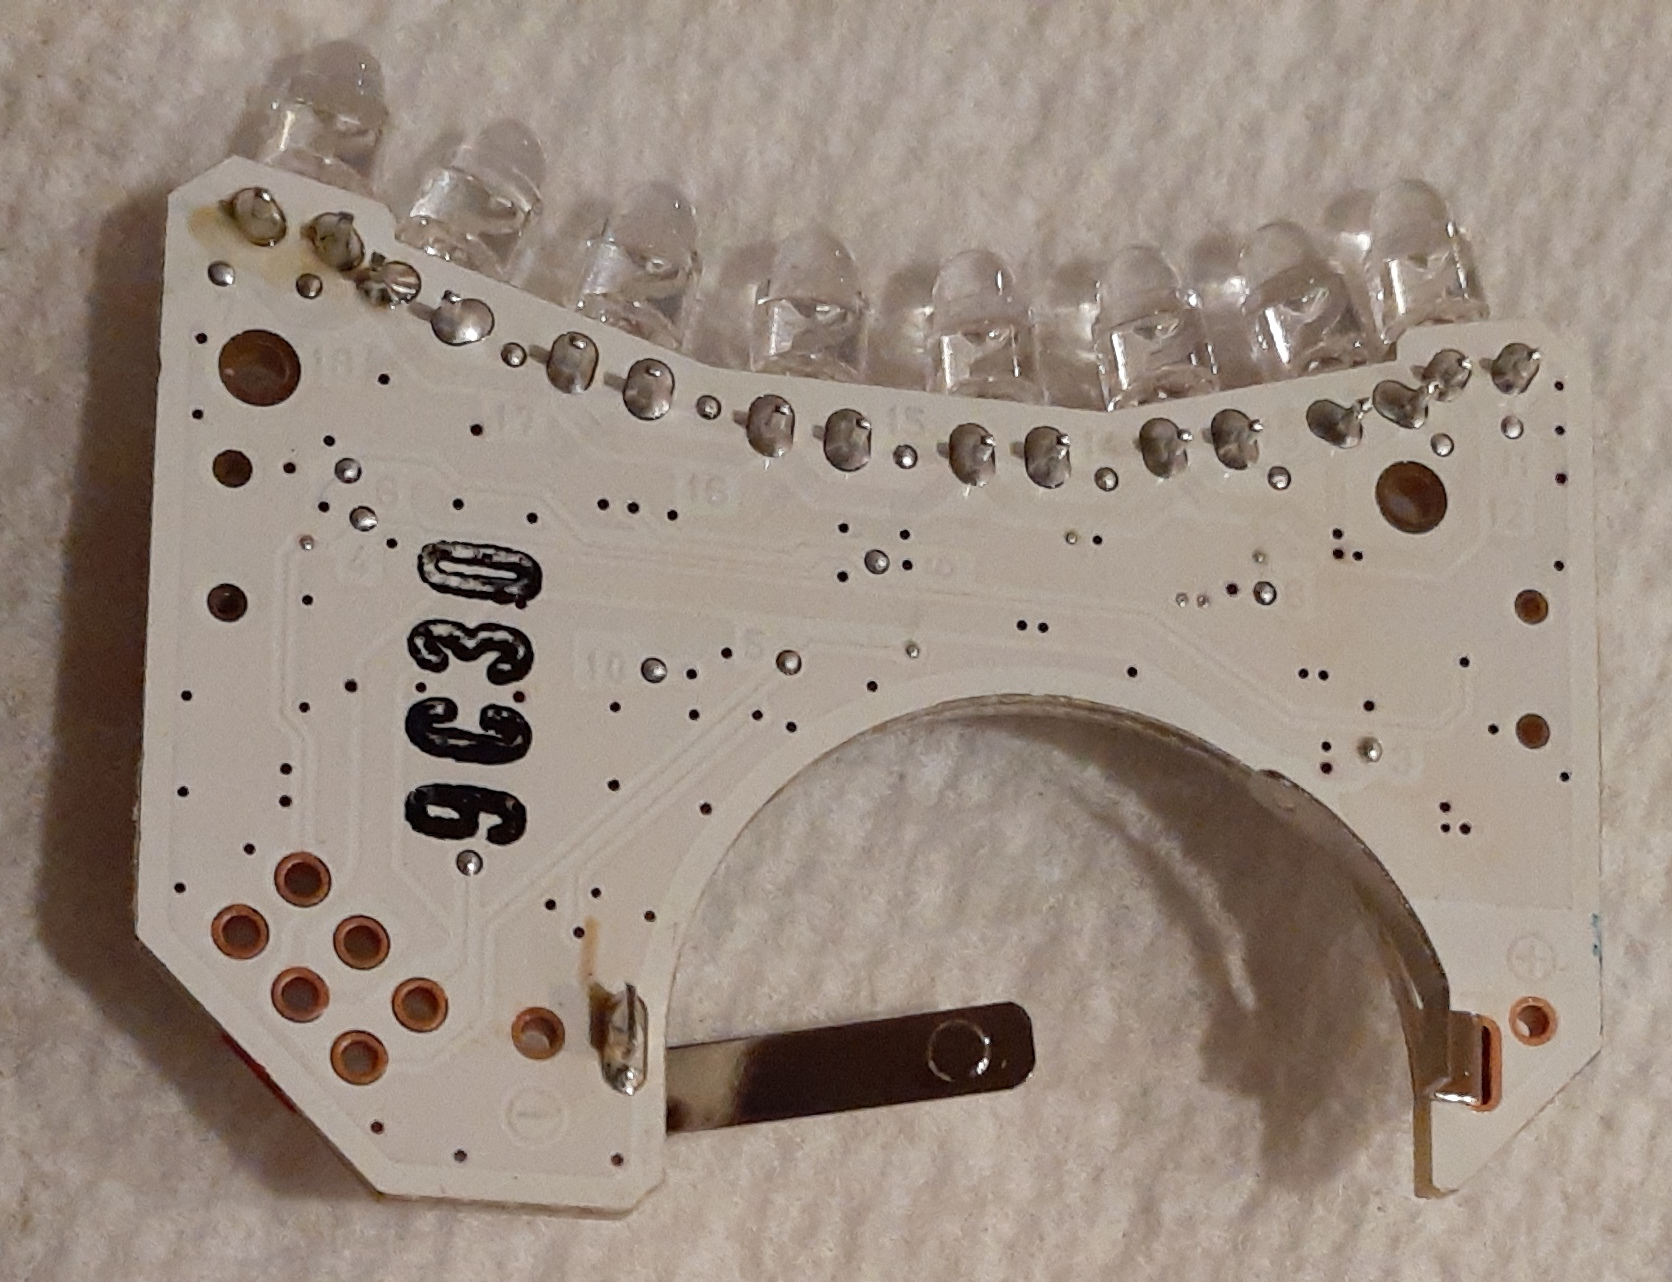
Details of the electronics
- Outer case markings:
- Batteries
- 2x CR2450 3V Lithium batteries (Panasonic)
- Circuit board markings
- Circuit board key components
- MCU: PIC12F1501 I/SN 1925: $0.88 Microchip PIC12F1501-I/SN
- Speaker: PMS 1240H3 1911-2: ~$2 SMD Piezo Buzzer
- Unknown: NR3N. Voltage regulator, perhaps. $1?
- 2x switches (SW1, SW2) ~$0.5 ea, total $1
- 18x Resistors ~$0.15 ea, total $2.70
- Unknown: C1, C2. $1?
- Unknown: D1, D2. $2?
- 8x LEDs. ~$0.2 ea., total $1.60
- Circuit board: ~$0.5
- Batteries: 2x CR2450: $3
- Case: $2
- Approximate BOM: $18
Battery Replacement
For my first attempt, I removed the batteries and put them back in. However, the device would not stay on for the full 5 minutes. Either the batteries are low or it tracks usage in nonvolatile memory, so it can't be used too many times. A multimeter showed the 3V batteries were producing 2.85V.
After 24 hours with the batteries removed, reinserting them resulted
in several loud beeps. The light refused to stay on more than 15 seconds.
After another 24 hours, I attempted to reinsert batteries while
holding down both switches, in hopes that the device has a reset
feature. But this too was unsuccessful, resulting in the same
shortened 15 second light cycle.
MCU Details
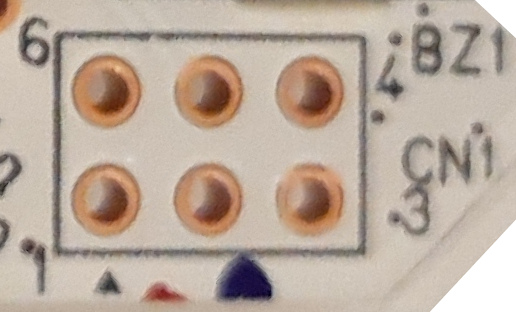
The Microchip/Atmel PIC12F1501-I/SN can be read with a Microchip PICkit. Connecting requires a header or other connectors, which this board seemingly lacks. However, there is a collection of 6 through holes labeled CN1 — connector? They are numbered 1-6.
Resources:
Battery Replacement: Successful!
I bought 2 CR2450
replacement batteries for $7 and installed them in the circuit board.
The LED lights stay illuminated for 5 minutes again! A $7 fix
prevents this circuit board and plastic case from going into a
landfill, and saves money over a new LED light.
Update: Follow-Up After Reusing the LED Light
Reusing the LED light worked well with a new box of whitestrips. Read more here.
Last modified on 27 Feb 2023 by AO
Copyright © 2024 Andrew Oliver


